Start with the ground-level sweep
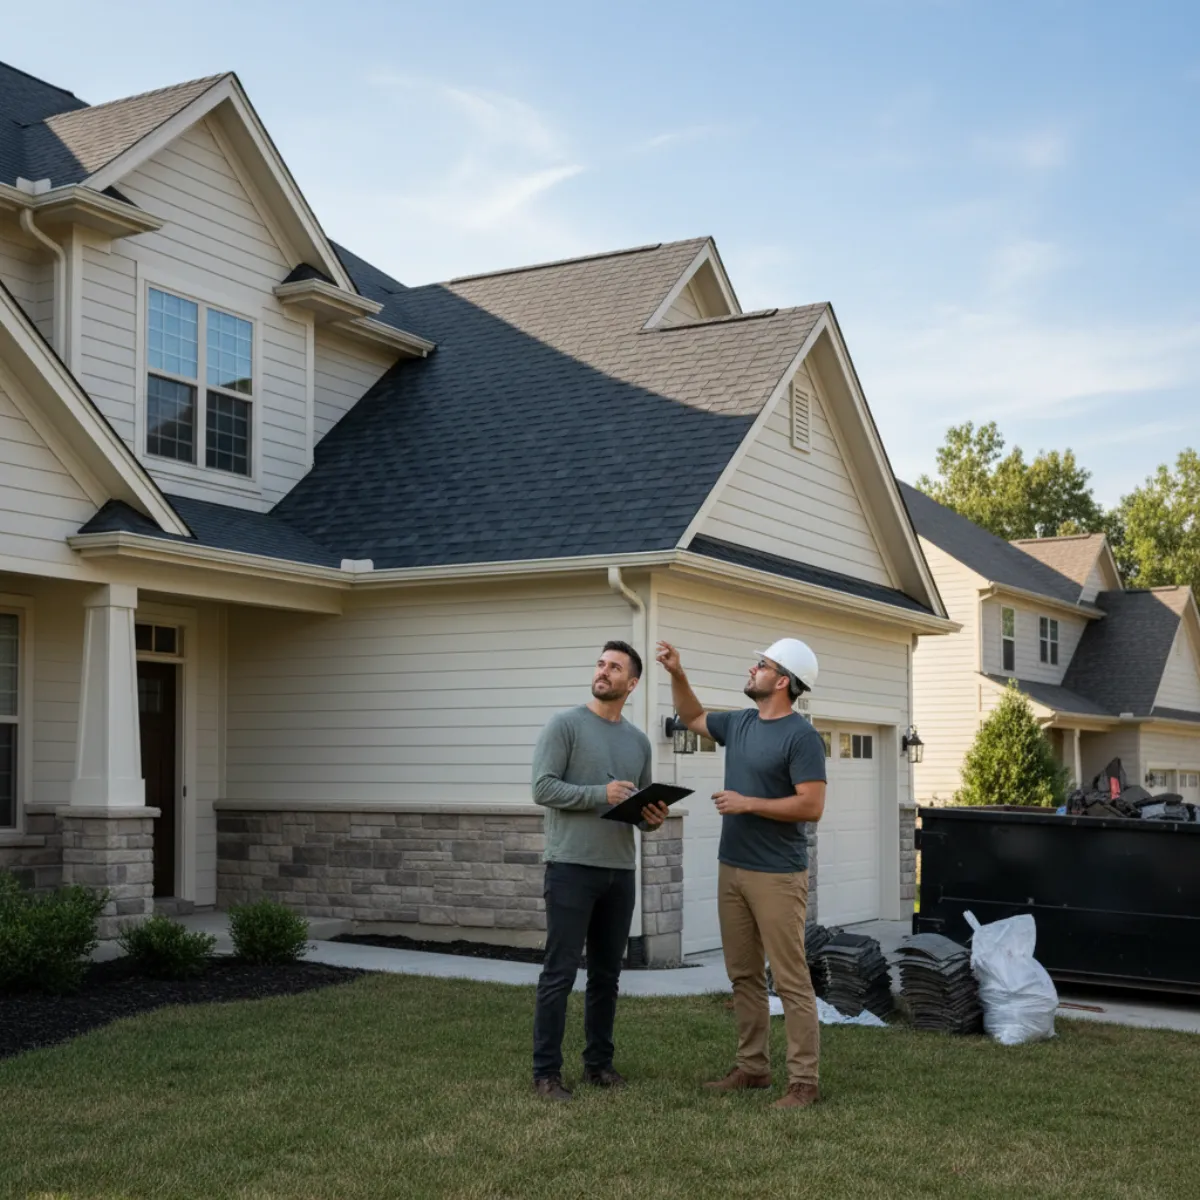
Most homeowners can spot 80 percent of final-walkthrough issues without ever climbing a ladder. Step back from the house, walk every elevation, and look for symmetry, cleanliness, and obvious inconsistencies near the roof edge. A strong final inspection starts by slowing down enough to notice what does not fit.
Ground-level sweep
Walk the perimeter slowly. Look for uneven roof lines, leftover debris, damaged landscaping, and anything that looks unfinished around eaves and gutters.
Detail check
Flashing, drip edge, vents, and gutter transitions should look intentional and complete, not improvised with excess sealant or exposed nails.
Attic verification
A final attic check gives you an interior view of whether penetrations, ventilation, and decking conditions look clean after installation.
Punch-list control
Any incomplete item should be written down, photographed, and linked to a specific completion date before the job is closed out.
Check gutters, downspouts, and water handoff points
Roof work changes how water reaches the gutter line. Make sure the drip edge sits cleanly, gutter aprons are where they should be, and the downspouts are not clogged with tear-off debris. If water now overshoots the gutter or backs up at an end cap, address that before the project is considered finished.
This is also the time to look for gutter dents, loose hangers, or scratches that happened during staging and tear-off. They may not leak today, but they are still part of project quality.
Waterline questions
- Do gutters sit tight against the fascia again?
- Was drip edge installed cleanly at eaves and rakes?
- Did the crew remove shingle grit and nails from troughs?
- Do downspouts discharge freely after the job?
Drip edge and eaves
The metal edge details should look continuous, straight, and properly overlapped. Wavy sections, exposed fasteners, or sloppy trim transitions are worth flagging.
Shingle uniformity and ridge lines
Courses should look even from the street, ridge caps should sit straight, and there should be no visibly lifted tabs or odd color blending that suggests a mixed bundle or rushed finish.
Look closely at flashing details, not just the field shingles
A roof can look good from the street and still fail at the details. Final inspection should include chimney flashing, wall intersections, skylights, plumbing vents, and any roof-to-siding transitions. These locations should look secure and deliberate, with clean metal work and no excessive reliance on exposed mastic.
If a detail looks improvised, ask for close-up photos and a plain-language explanation of what was done. The job is still active until those details make sense.
Ventilation cap security
Box vents, bath fan caps, pipe boots, and ridge vent terminations should sit secure and aligned. Loose or tilted pieces are not cosmetic; they are leak risks.
Siding, fascia, and trim scuffs
Inspect the surfaces around roof access points for scratched paint, dented gutters, fascia marks, cracked trim, or loosened siding panels that need touch-up before sign-off.
Do the attic light test before the next storm does it for you
A clear-day attic visit is one of the best final checks available to homeowners. Bring a flashlight and look for daylight at ridge lines, around pipe penetrations, near chimneys, and at roof-to-wall intersections. Also look for disturbed insulation, fresh staining, or debris that suggests the crew missed something during deck or penetration work.
Then check again after the first meaningful rain. A documented attic baseline gives you evidence if something shows up early in the workmanship warranty window.
Cleanup proof
Ask where the crew performed the magnetic sweep
Magnetic sweep quality is not a throwaway detail. Nails in driveways, planting beds, and play areas are one of the most common post-project complaints. Ask the crew lead to show you which zones were swept and repeat the sweep anywhere you still find debris.
- Driveway edges and walkways where crews staged tear-off debris
- Planting beds and grass around the house perimeter
- Patio, deck, and outdoor living areas near eaves
- Garage threshold and the spots where vehicles normally park
Handle the punch list in writing, not in casual conversation
If anything remains incomplete, document it with photos and a short written list. Include the location of the issue, the correction requested, and the promised completion date. This does not need to be adversarial. It just needs to be specific enough that everyone knows what remains open.
Final payment should follow final completion, not vague assurances that someone will swing by next week.
The final walkthrough is easier when the original quote was clear
RoofVista’s goal is not just to help you get pricing. It is to help you compare standardized scopes so the finished roof, the payment milestones, and the close-out expectations all match what you thought you were buying.
Final Roof Inspection Checklist: Frequently Asked Questions
Should I go up on the roof during the final inspection?
Only if you can do so safely and you are comfortable with roof access. Most homeowners can perform a strong final inspection from the ground, from windows, from the attic, and during a guided walkthrough with the contractor. If you want a roof-level review without risk, consider hiring an independent inspector or asking the contractor for date-stamped close-up photos.
What is the most common thing homeowners miss on the final walkthrough?
Cleanup and detail work. Homeowners often focus on the big visual improvement and miss smaller issues like loose gutter hangers, scuffed siding, open caulk joints, leftover debris, exposed fasteners, or an unfinished punch-list item around a chimney or vent penetration.
Can I hold back payment for a roof punch list?
Yes, if the contract allows milestone-based payment and there are legitimate incomplete items. The right approach is to document the punch list in writing, attach target completion dates, and hold back only a reasonable amount tied to unresolved work. This is easier when payment terms were defined clearly before the project started.
How do I check my attic after a roof replacement?
Use a flashlight on a clear day and look for daylight at penetrations or ridge lines, fresh water staining, insulation disturbance, or new debris on the attic floor. After the next rain, check again for any active moisture signs. The attic is one of the fastest ways to catch flashing or ventilation problems before they become ceiling leaks.
What should gutters look like after a roof replacement?
They should be free of shingle granules and debris, reattached correctly if they were loosened during the job, and draining properly through the downspouts. If gutter aprons, drip edge, or splash behavior changed after the roof work, ask the contractor to explain and correct it before close-out.
What if I notice a cosmetic issue but no active leak?
Document it anyway. Cosmetic defects can still signal rushed workmanship or an overlooked detail. Note the location, take photos, and add it to the written punch list so there is a record of the concern before final payment is released.